
Required material:
- 4x 5mm or 3mm LED in the colour of your choice.
- 4x Matched resistor.
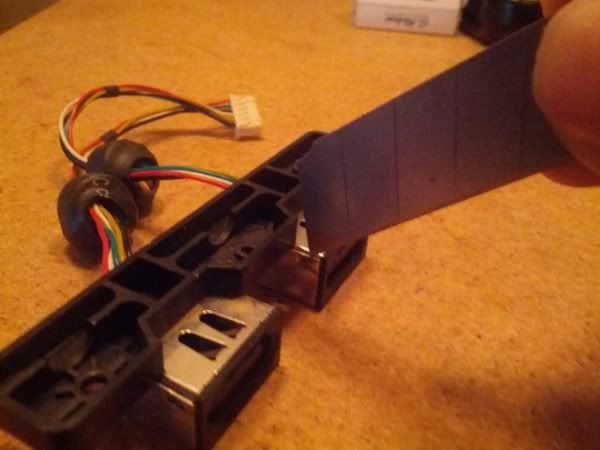
- Start by removing the metal shield. Only a tiny amount of solder on each sides need to be broke or remove so it can be pulled off. There is two way to do it:
- Use a cutter or a razor blade to pop each spot where there is solder.
- Soldering iron and de-soldering braid..
(I personally prefer a)
- Prepare (cut/bent) the resistors and LEDs
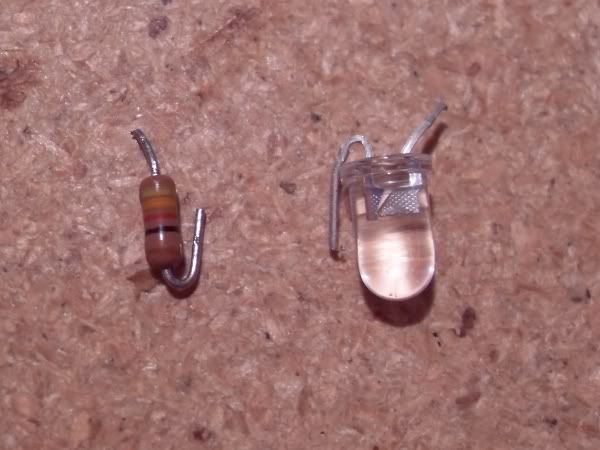
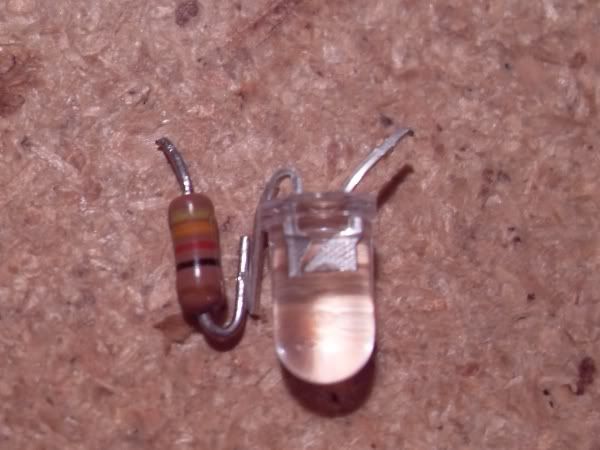
- Tin all your parts (Pre-apply some solder: optional but recommended)
- Solder a resistor to the 5V+ of the controller port (Red wire).
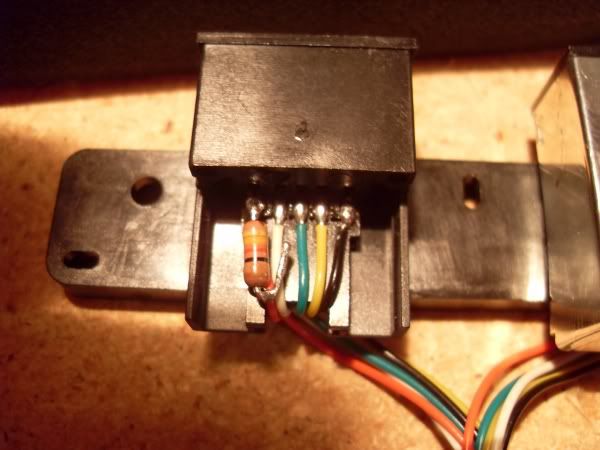
- Solder the Negative terminal of a LED (Should be the shortest one) to the GRD of the controller port (Black wire)
- Solder the Positive terminal of the LED to the resistor.
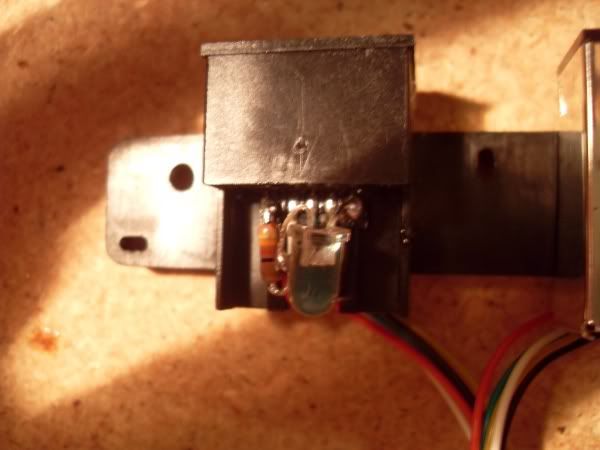
- Replace the metal shield
- Heat the tab where the metal shield is clipping. (Optional: To re-solder the spot that was hold by some solder in step 1))
- There is no short circuit...
- The metal shield is not shorting anything...
- Clean the inner part of the metal shield with some alcohol or else and a Q-tips to get maximum light reflection.
Use this site to calculate the value..
http://www.hebeiltd.com.cn/?p=zz.led.re ... calculator
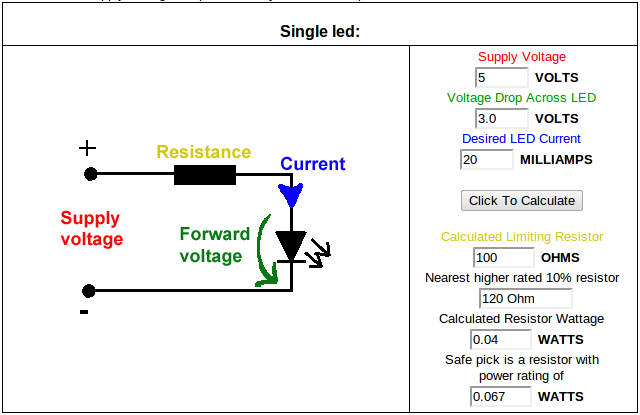
Set the "Supply Voltage" value to 5 and the "Desired LED Current" to 20
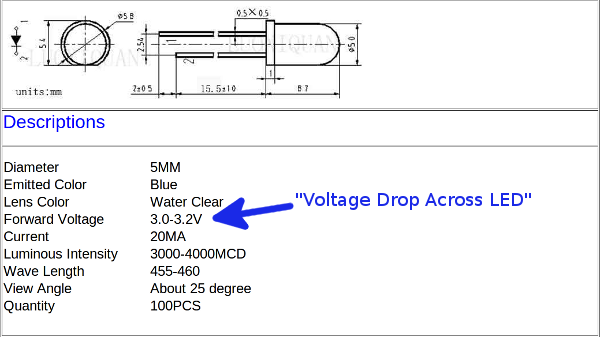
Adjust the "Voltage Drop Across LED" box according to your LEDs specs.. (use the lower value)
Can't figure out the resistor value? just use 150-160 OHMS ones ..
This chart can also be used to make a rough estimate of the voltage drop. (Per colour)
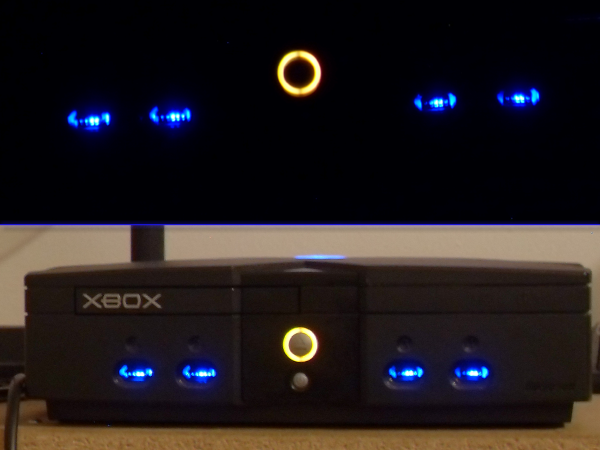
Here's the final result:
Similar tutorial:
http://www.xbox-hq.com/html/xbox-tutorials-192.html
http://www.xboxscene.com/articles/port-leds.php
The peak of your manual dexterity was in kindergarten, or you are simply lazy ??
Buy them pre-made: http://www.dynatron.org/store/
Disclaimer: XBMC4Xbox and I are not responsible for any damage done to your Xbox while fallowing this guide.