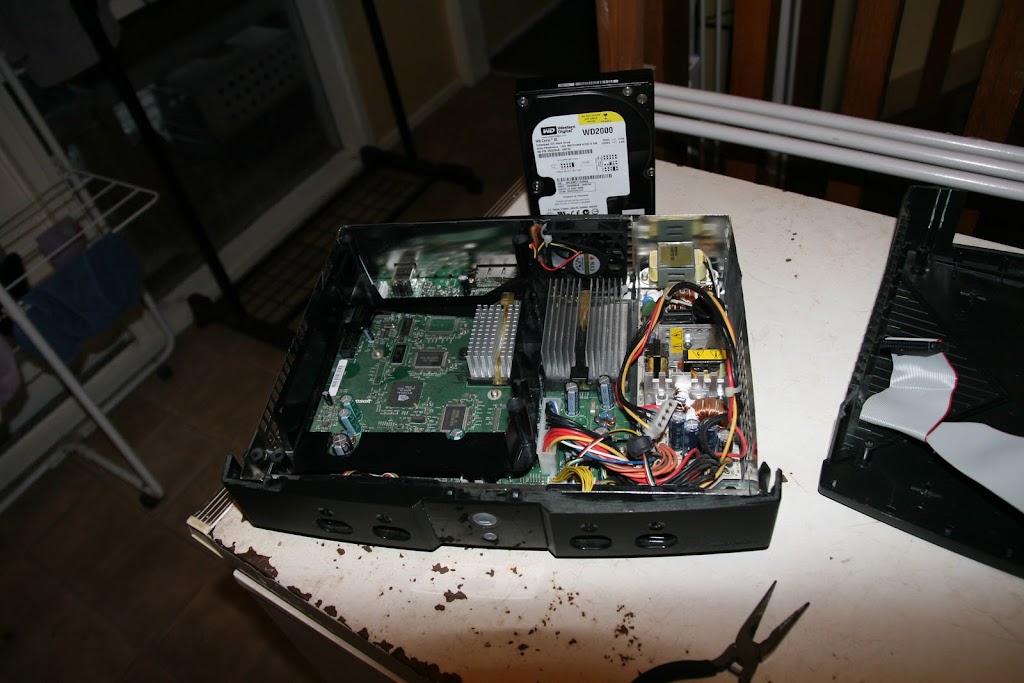
step 1) Gut your xbox like a freshly caught trout.
step 2) Remove the tin shielding ready for trimming down (optional unless you are a butcher)
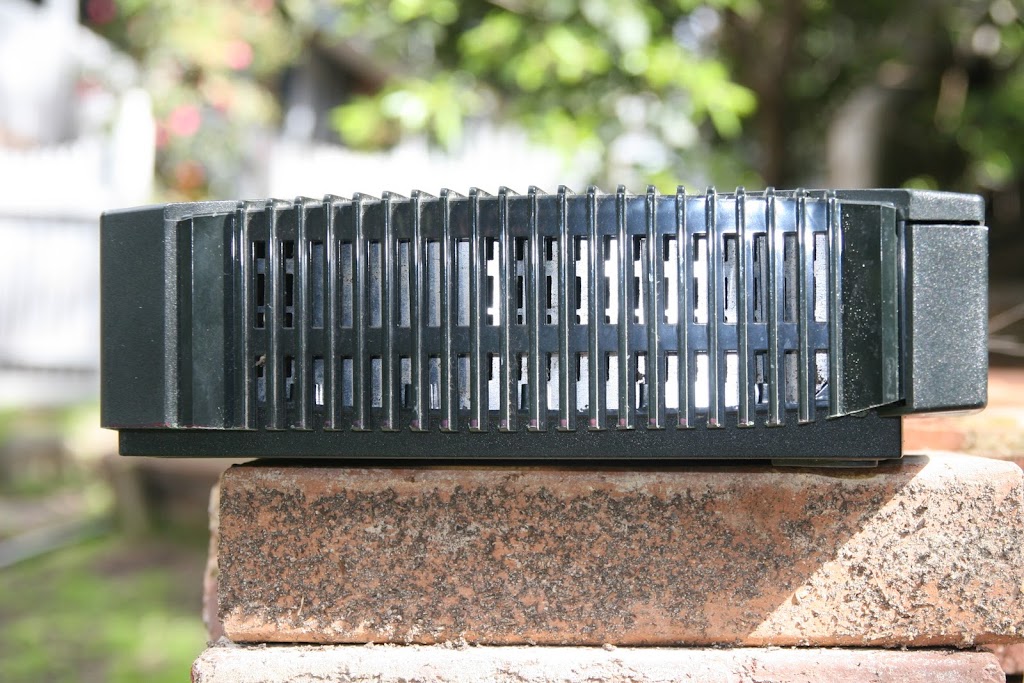
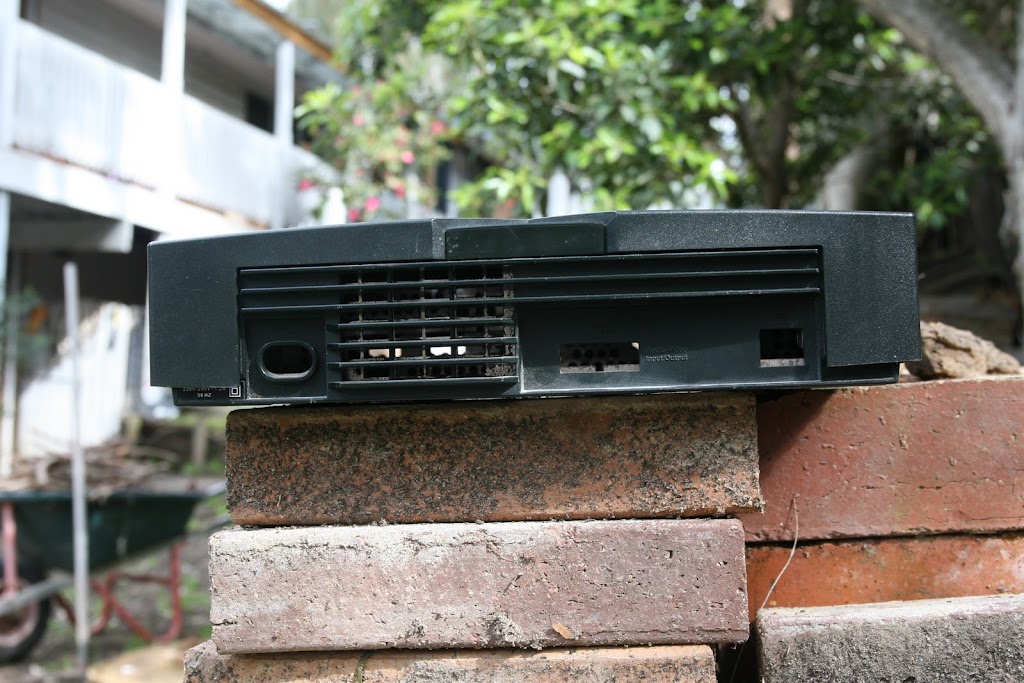
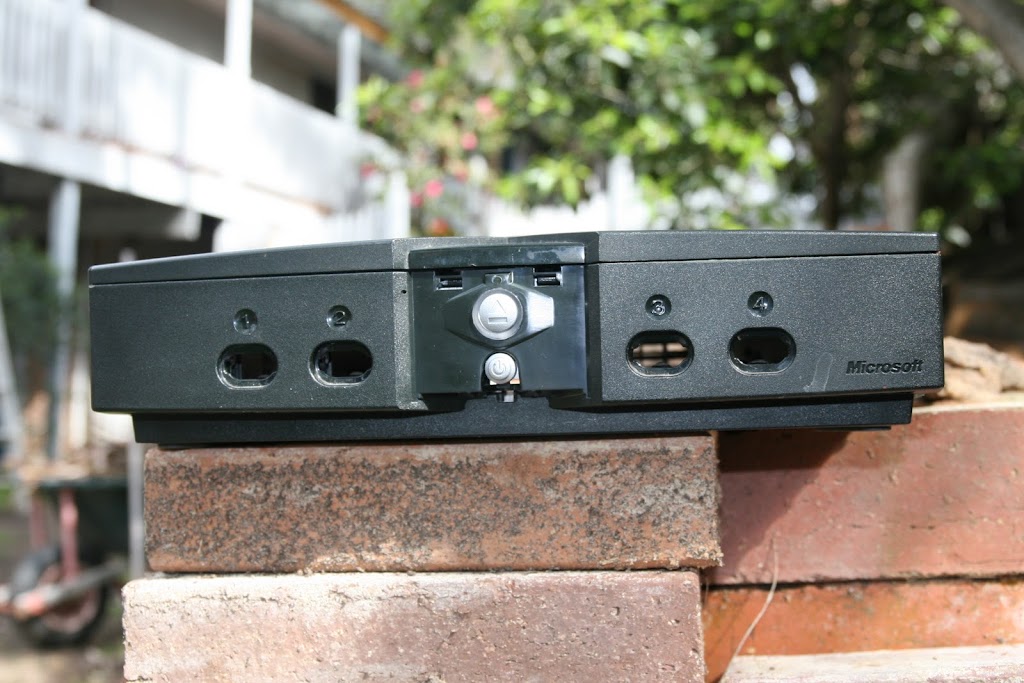
step 3) Locate the marks for cutting, for the front this is the recessed line just below the DVD tray and for the rear count 3 fins up from the RH side fins and cut just above the 3rd.
You can use a sharp hacksaw blade, a craft / stanley knife or a large Bowie if your name is Rambo. A dremel is best or if you are a cheap bastard like me a cheap dremel knockoff does just as good for 1/3 the price - see my weapon of choice to the right of pic.
Important tip - WEAR SOME FORM OF EYEWEAR, i got some plastic shards in my eye and it hurt like Fat Uncle Chuck Kelly !

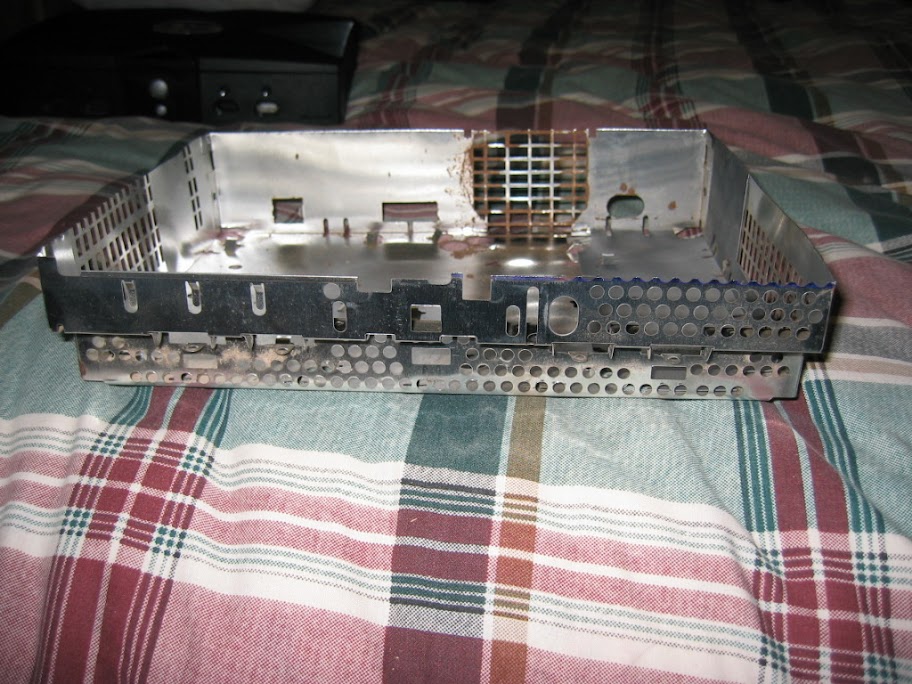
After cleaning up the cuts with a fine file and or sandpaper its time to trim the tin shielding, i should have noted the my first post that we are aiming to cut the case down by approx. 10-12mm - rough cut 10mm allowing a few mm to clean up.
Now get your shielding and at the front where the dvd tray was there is a recess in the tin, mark across from this line and then right around all sides.

Now with tin snips cut along your marked line all around.

Cutting all done and ready to clean up the edges.
Ok so now we have the base completed i have placed the lid to show how much we need to cut the lid down by.


Easiest way to start on the lid is to mark a line 10mm up from the bottom of each side and cut straight across, when looked side on you'll notice how the side curve up from the middle to the outer edges. Once the 10mm is removed sit the lid in place and notice where the curves are so you can mark for the the next trim
Well being that its a nice day and all i managed to get outside and finish this slimbox, since i dont have a garage and my shed is full of crap
And just to prove that you can do a slim with basic hand tools i decided to cut the lid using a hacksaw instead of the rotary tool, the cut is actually cleaner although takes a little more care that you dont crack the lid.

There is a bit of trimming inside the lid to make it sit flush with the base, there are ribs that need to be trimmed and slotted so that that sit into the tabs. So here we have the finished case ready to re-assemble , i'm still thinking about going nuts on the lid and cutting the finned triangle bits out and gluing tinted perspex in its place as well as a paint job and maybe some leds just to add some bling.
Now that the case is ready you need to trim down the dvd tray to use as the hdd caddy, cut the legs down by 10mm and do a test fit to your mobo. Depending on the version xbox you have will dictate how you need to trim the tray, some will need clearance for the caps and some will need trimming on the cpu heatsink. Where the dvd try sits into pegs on the lid you will need to drill out the holes so that it can sit further in.
Apart from that all you need to get it up and running is a 60mm fan to cool it as the original fan is now too big, also you might want to do the power/eject button swap since eject is useless now- you only need to swap 2 wires on the pcb and no soldering required.
I picked up a 200gig WD ide hdd for $10 so it will be going into this machine.
If you have any questions please dont hesitate to ask or even send me a PM.
When i did the base i actually cut down the wrong base for the mobo i planned on using so i'm doing another one today after lunch just for the hell of it .
regards,
Nick.
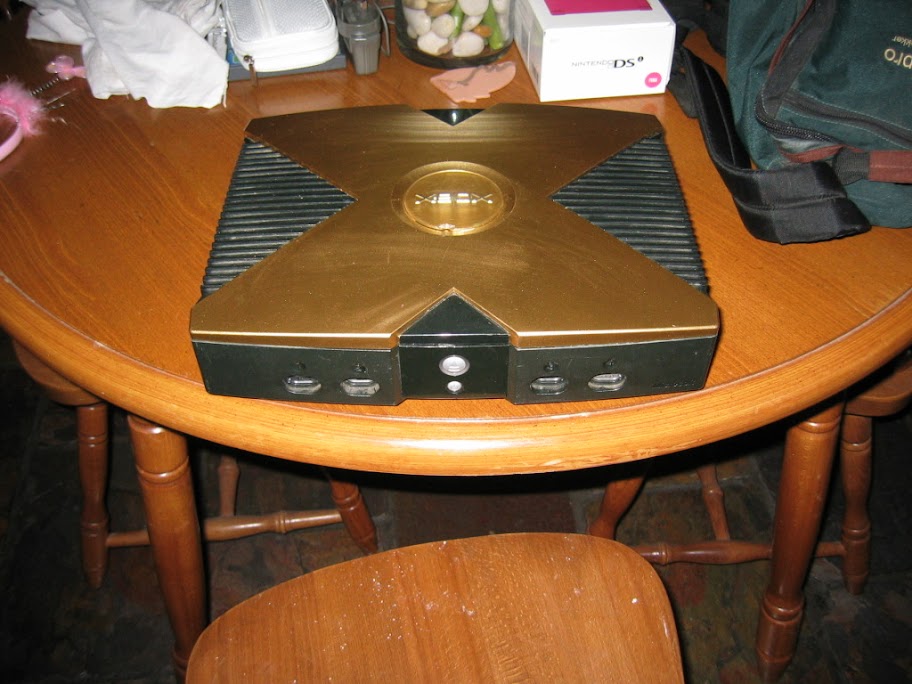
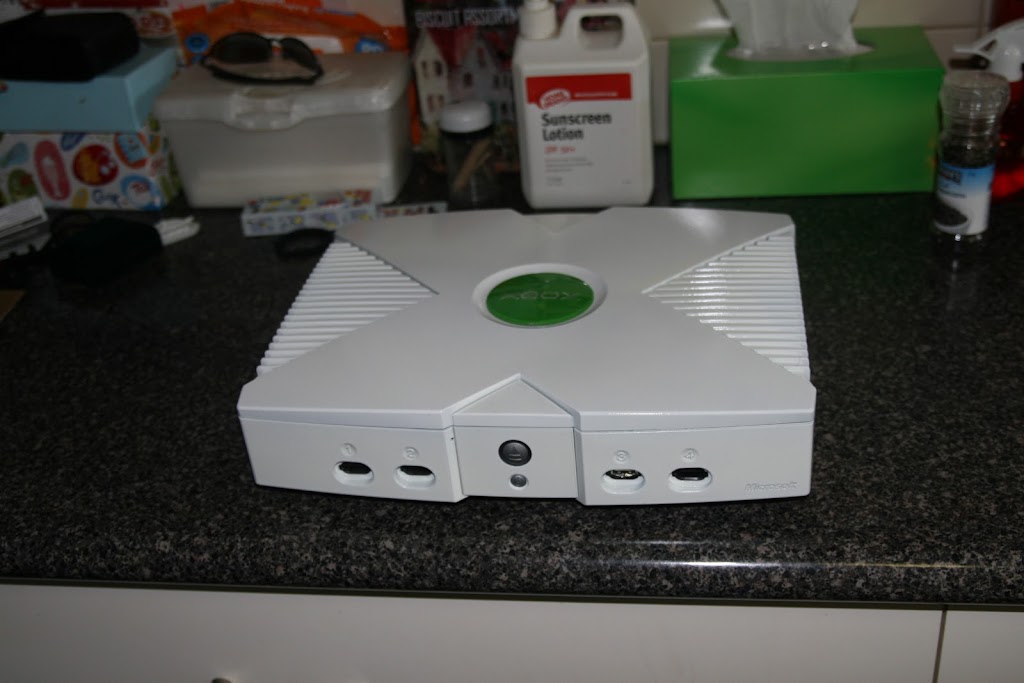
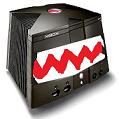
And here are a couple of finished and painted units .